Augmented Reality with Neptune and Zebra HD4000 HUD
Over the last few weeks, Neptune Software have been integrating the HD4000 into their platform - a SAP Fiori development environment. By leveraging our Intent Interface utility, and a Cordova Plugin written by our colleague Darryn Campbell, Neptune were able to integrate the HD4000 into their development environment, and now have full support for our HUD in their platform!
Neptune Software's CIO & Co-Founder, Njal Stabell, has put together a blog detailing this process, take a look below to read more!
----
AR support has been a priority for new capabilities for our DX platform. Ole-Andre and I are both Star Wars fans, so we thought we needed some “Mandalorian” functionality.
When we got hold of a pair of the new HD4000 glasses, we started experimenting with integrating Neptune Hybrid apps running on Zebra devices. We got generous support and help from James Swinton-Bland at Zebra to find the right solution.

For the connection to the Head-Up Display (HUD), we implemented an Intent-based architecture as the standard SDK from Zebra does not have a Cordova plugin yet. Luckily, Zebra has created an HD4000 Intent-Based Interface we could then communicate using standard Android broadcast Intents and you can use Cordova plugins. This interface includes all Android SDK functionality, so you do not need to write any native Android app.
There are a couple of things you need to do to make this work. First of all, make sure you install/upgrade the latest Darwin.apk from Zebra on your rugged device. This app connects the device to the glasses. You will find it in the SDK package that you can download from the Zebra Developer Portal here. https://developer.zebra.com/community/technologies/hd4000 There are a few webinars and Blogs you should check out.
You will also need the HUDInterface.apk that can be obtained by request as of now. This app contains the Intent communication, and from the Neptune app, you will call the different actions to its Intent id: com.zebra.hudinterface.
To enable that from your Hybrid Cordova app, you need an Intent Plugin. I used this one from npm: com-darryncampbell-cordova-plugin-intent. Just add it to the plugins in your Mobile Client.

Now to the fun part. Just create your mobile client and we can start coding. Since your Neptune apps are updated in the client every time you activate your code you can play around with the different intent actions. The formats that exist are:
Display Single Line of Text:

Display an array of texts:
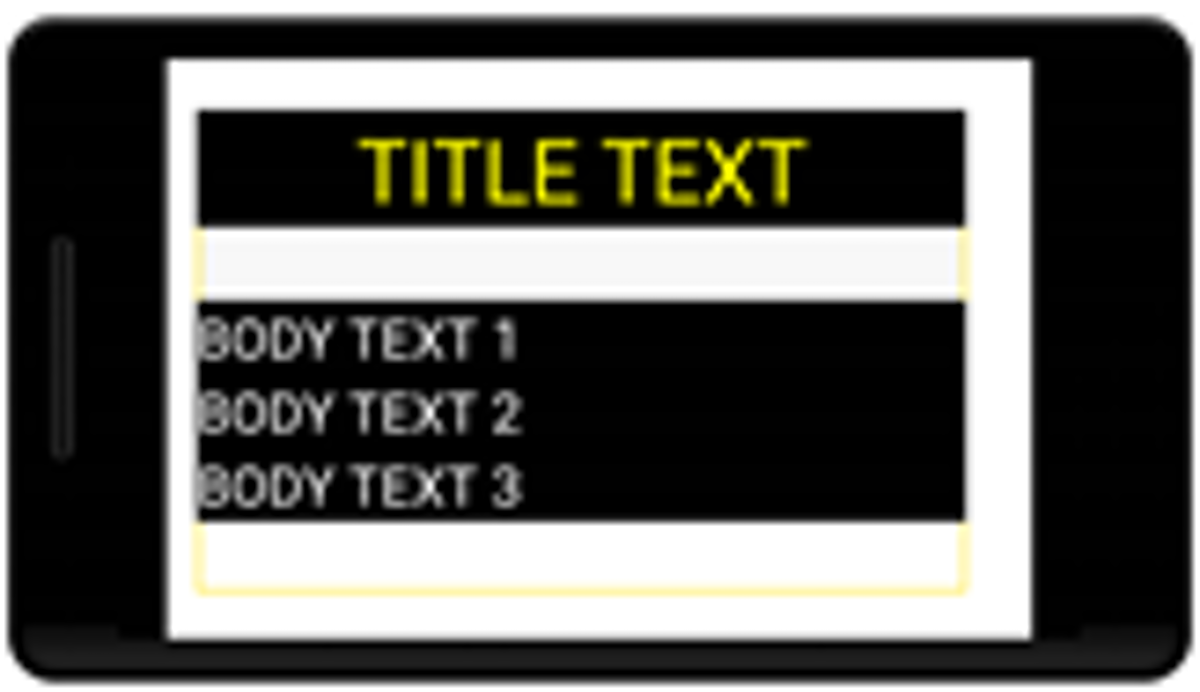
Display an image:

Display Image and Text:

Display Image and text array:

And finally, you have the JIM (Json Image Model). This is my favorite as it ties nicely into our JSON communication. Here is a blog and JSON schema and examples from John:
https://developer.zebra.com/blog/developing-android-apps-hd4000-part-3-json-image-model
It is very easy to send broadcasts from Neptune now. Here is a code example for text:
window.plugins.intentShim.sendBroadcast(

    {

        action: "com.zebra.hudinterface.DISPLAY_TEXT",

        extras: {

                'text.text': "^From P9 to HUD",

                'text.colour': "BLACK",

                'text.size' : "12",

                'text.justification' : "CENTER",

                'text.background_colour' : "YELLOW"

        }

    },

    function() {},

    function() {alert('Failed to open URL via Android Intent')}

);
And for Image:
window.plugins.intentShim.sendBroadcast(

    {

        action: "com.zebra.hudinterface.DISPLAY_IMAGE",

        extras: {

                'text.text': "From P9 to Helder",

                'image.path' : "^/sdcard//Pictures/logo.png"

        }

    },

    function() {},

    function() {alert('Failed to open URL via Android Intent')}

);
Now just rinse and repeat for these other actions:
Image and Text:
• com.zebra.hudinterface.DISPLAY_TEXT_AND_IMAGE

– Extras:

• Image.path – absolute path to the image on the device

• Image.width – display width (optional, default: 640)

• Image.height – display height (optional, default: 400)

• Image.scale_type – (Uses ImageView.scaleType()).

• text.text

• text.colour (Uses Color.parseColor())

• text.size

• text.justification (Uses Gravity)

• text.background_colour (Uses Color.parseColor())
And JIM:
Action:

• com.zebra.hudinterface.DISPLAY_JIM

– Extras:

• Jim.jim – JSON to display

• Jim.imagesDirectory – Directory for relative path images
For some display management you can use:
Clear Display: • Action: com.zebra.hudinterface.CLEAR

(Note that adding a ^ in front of data in the other Intents will clear the display for you – check my code examples)
For debugging/coding Zebra has added an overlay function so the HUD display can be shown on the device. It can be a little annoying to code and wear the glasses all the time.
Toggle Overlay: • Action: com.zebra.hudinterface.TOGGLE_OVERLAY
Happy augmented coding!

James Swinton-Bland

