Getting Started with Telnet
Overview
This blog will explain how to enable and use Telnet on both Windows and Mac.
What is Telnet?
Telnet is a network protocol used to virtually access devices, establishing a two-way communication.
When Telnet is capitalized, we’re talking about the protocol. When telnet is lower cased, we’re talking about establishing the connection.
Using Telnet on Windows
Verify If Telnet is Enabled on Windows
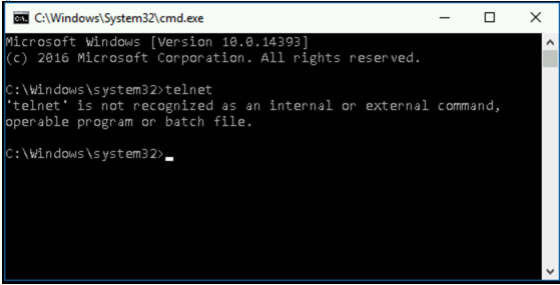
To verify if Telnet is enabled, open a command prompt and type telnet. If you receive an error, Telnet needs to be enabled.
Enable Telnet on Windows
Open the Control Panel and select Programs.
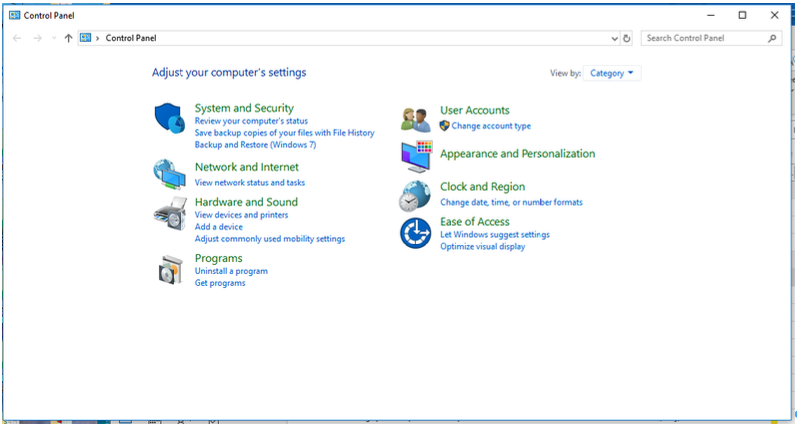
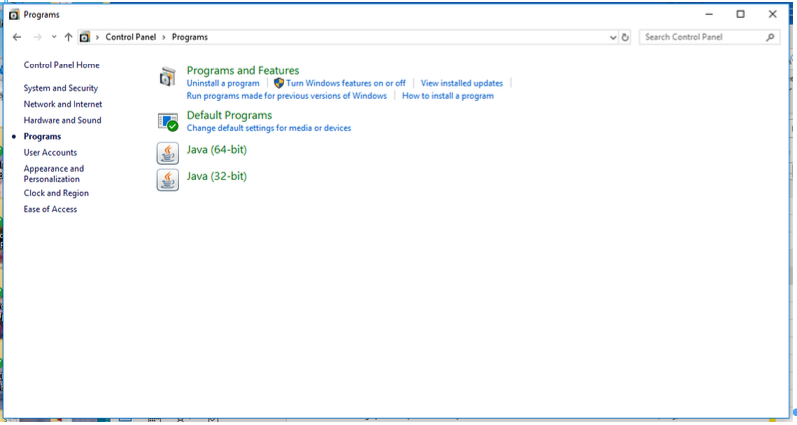
Click on Programs. Wait for the Programs window to appear. Under Programs and Features, select “Turn Windows features on or off.”
A list of features that may be enabled on Windows will appear. Scroll through the list and click Telnet Client.
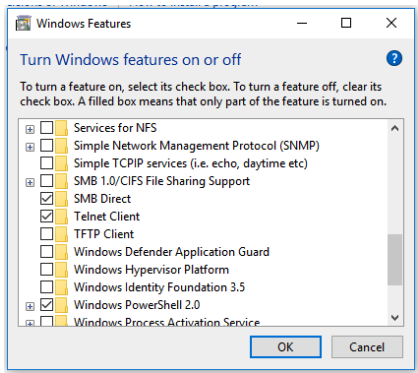
Click the OK button at the bottom of the screen. Telnet has been enabled on Windows.
Using Telnet on Mac
Verify if Telnet is Installed
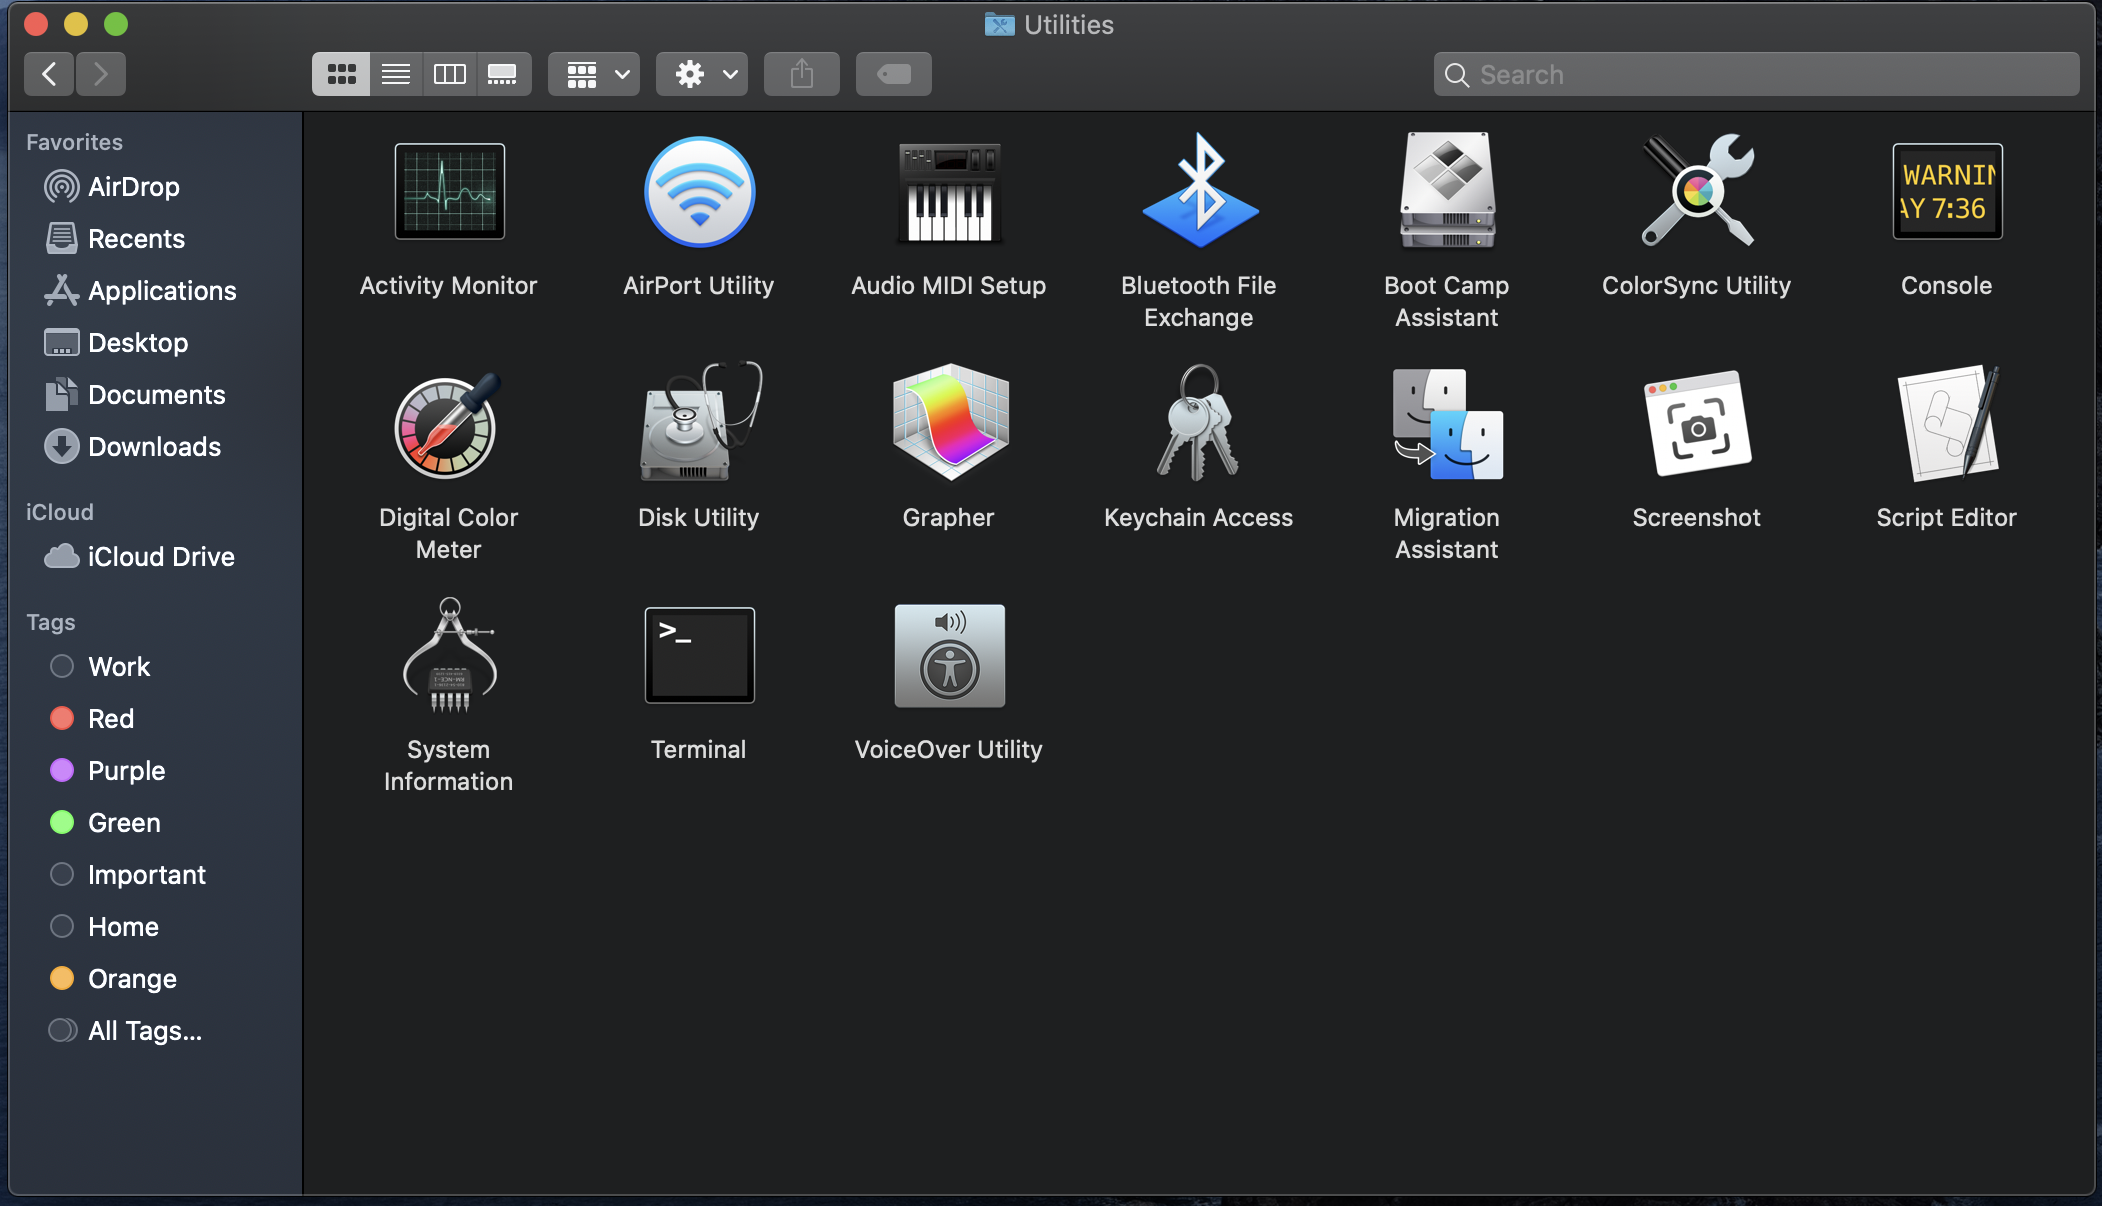
Open a Terminal.app window. Terminal.app may be found under Applications in the Utilities folder.
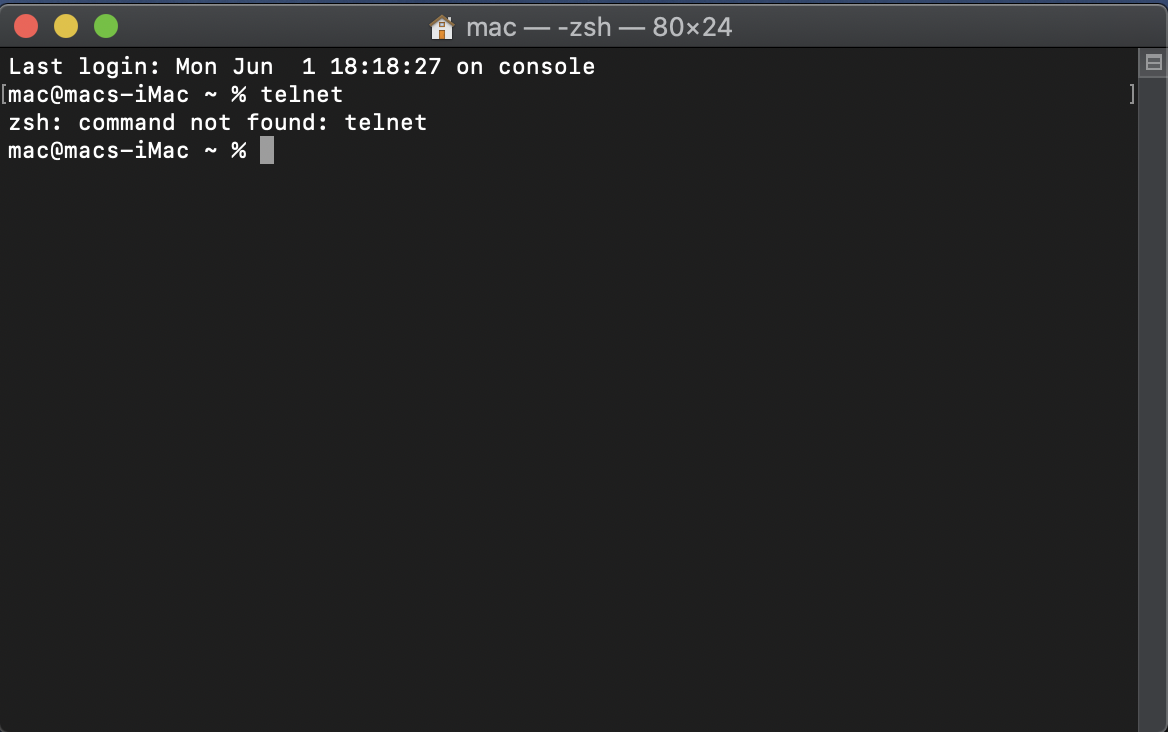
Open Terminal and type in telnet. If an error message is displayed, Telnet needs to be installed.
Install Telnet on Mac
The easiest way to install Telnet on Mac is using the package manager Homebrew.
Install Homebrew
Open a Terminal, and past in the following command to install Homebrew:
/bin/bash -c "$(curl -fsSL https://raw.githubusercontent.com/Homebrew/install/master/install.sh)"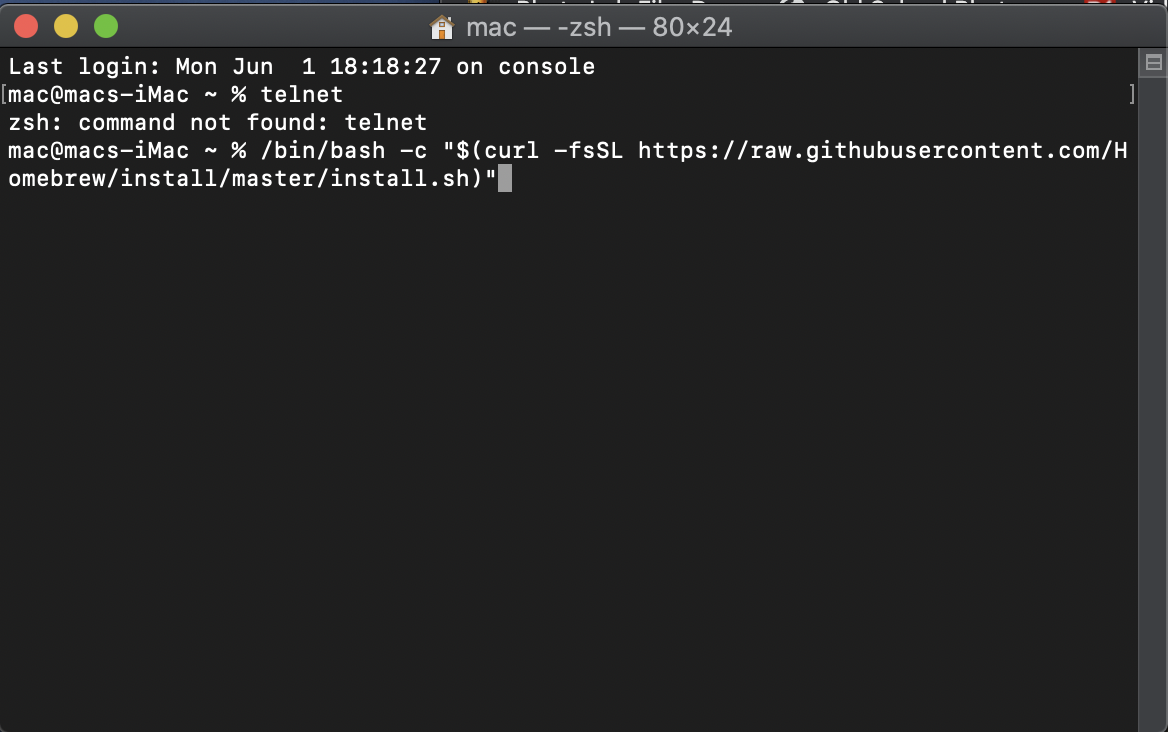
The script will automatically execute and will explain what it is happening during the installation process.
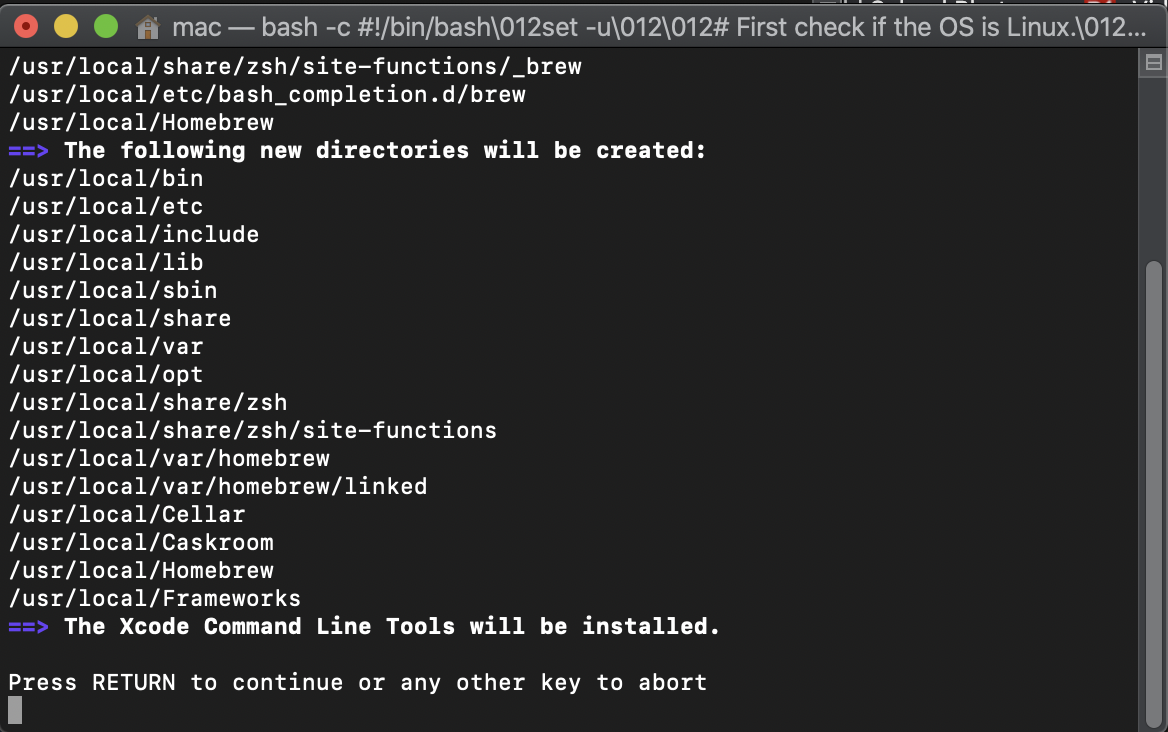
Once Homebrew is installed Telnet may be installed.
Install Telnet
To install Telnet, keep the Terminal.app window open or open a new window. Enter the following command:
brew install telnet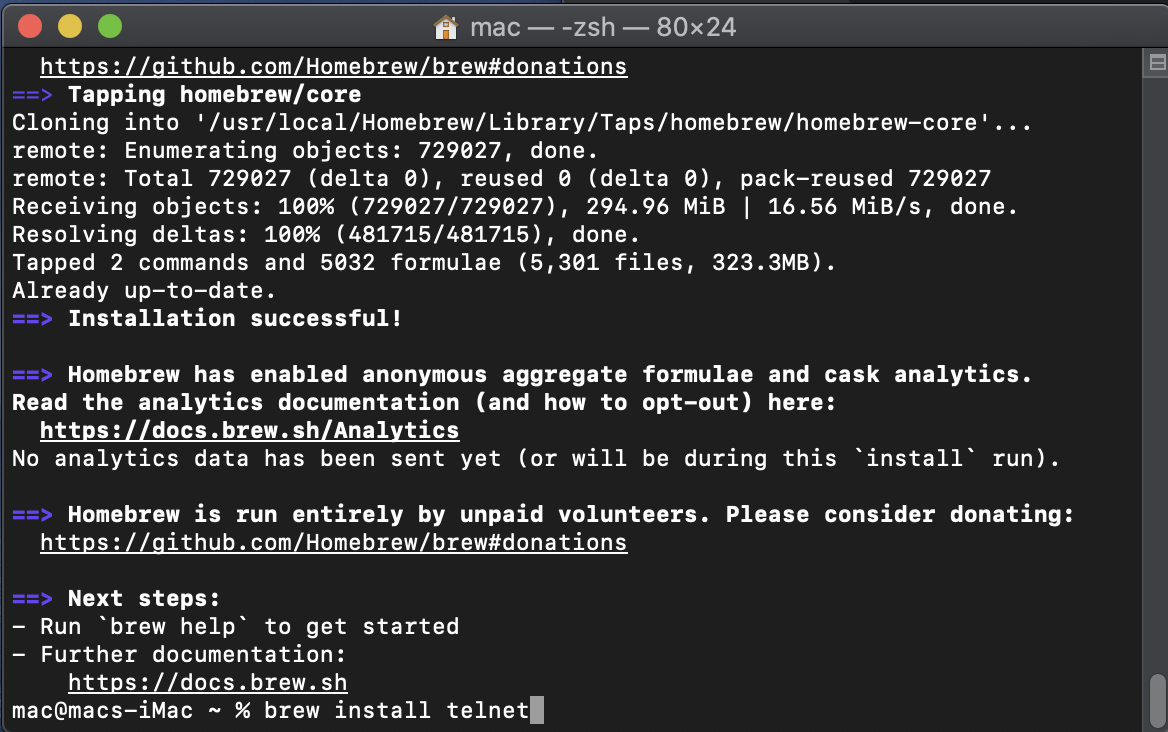
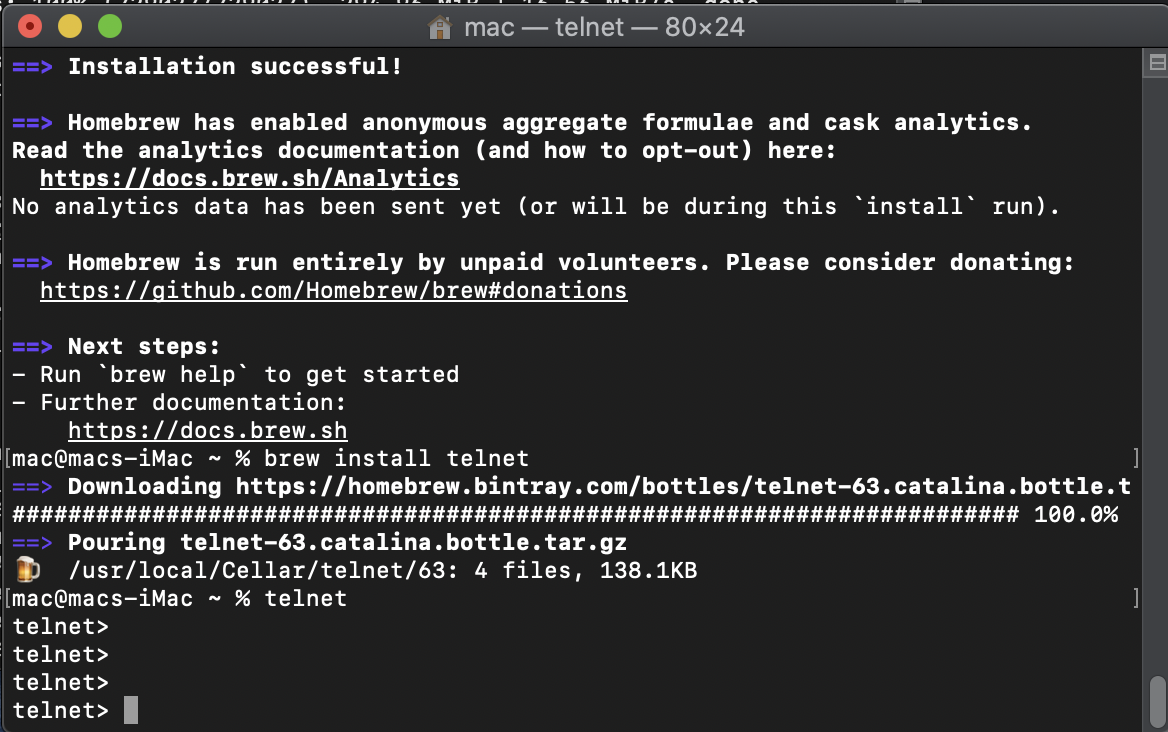
Wait until the installation completes.
Verifying Telnet Installation
On both Mac and Windows the easiest way to check the Telnet connection is to enter telnet in the command prompt. If successful you will see Telnet prompt for information to establish a connection.
To telnet into a Zebra printer, enter the printer's IP address followed by a space and 9100. Once the connection is established with the printer, commands may be sent to the printer to retrieve and update settings.
Disclaimers
Zebra Technologies’ blog How to Use Telnet is an independent publication and is neither affiliated with, nor authorized, sponsored, or approved by, Microsoft Corporation.
Mac and macOS are trademarks of Apple Inc., registered in the U.S. and other countries.
Copyright © 2009 – present, Homebrew contributors

Courtney Adams
7 Replies
To use Telnet, you typically need to have a Telnet client installed on your computer. Most modern operating systems, such as Windows, macOS, and Linux, come with a Telnet client pre-installed. If not, you may need to install it manually.
https://developer.zebra.com/blog/view-geometry dash online-your-content
thanks this was really helpful https://serialeturcestion.com/
The issue of nginx decoding %20 to a space in URLs before forwarding them upstream can lead to 400 errors with certain upstream servers. This behavior is problematic, as nginx should preserve URL encoding. Build Now GG
To check if Telnet is enabled on Windows, open the Command Prompt and type telnet. If you receive an error message stating that it is not recognized, you need to enable Telnet. You can do this through the Control Panel under "Programs and Features," then "Turn Windows features on or off," and check the box for Telnet Client.
To check if Telnet is enabled on Windows, open the Command Prompt and type telnet. If you receive an error message stating that it is not recognized, you need to enable Telnet. You can do this through the Control Panel under "Programs and Features," then "Turn Windows features on or off," and check the box for Telnet Client.

